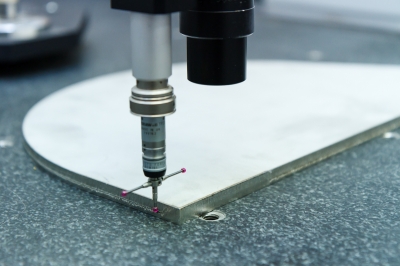
Three-coordinate Measuring Laboratory
| Head of Laboratory: | Dr. Solecki Levente |
| Phone: | +36-96-503-400 mellék: 3324 |
| Mobile: | +36-70-502-4672 |
| E-mail: | solecki##kukac##sze.hu |
| Website: | - |
| Address: | 9026 Győr, Egyetem tér 1., L2/1. |
INTRODUCTION OF THE LABORATORY
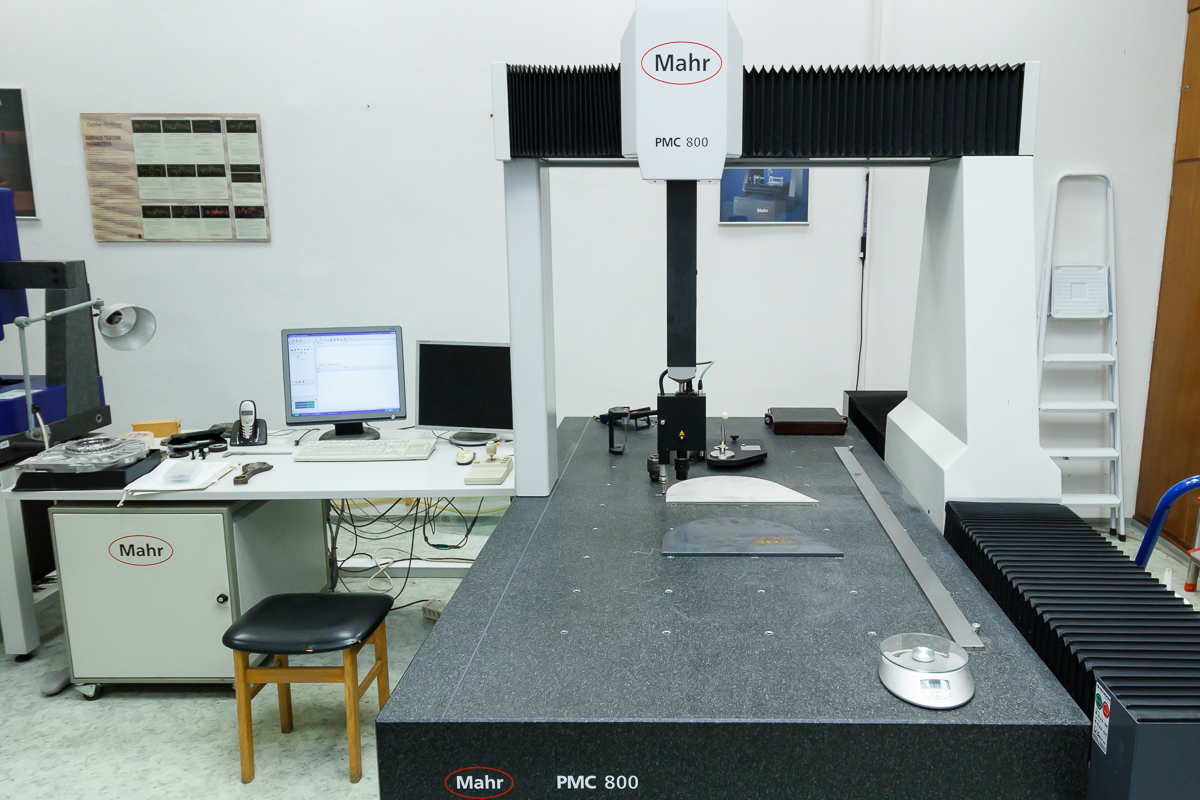
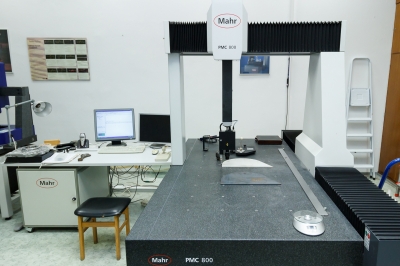
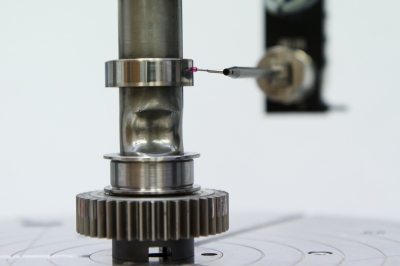
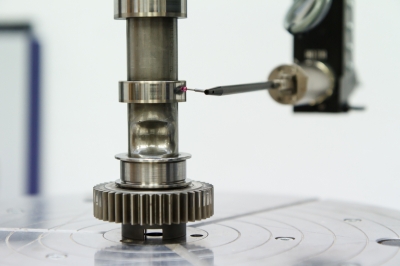
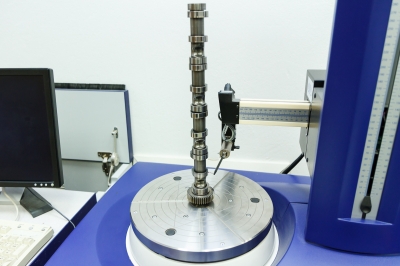
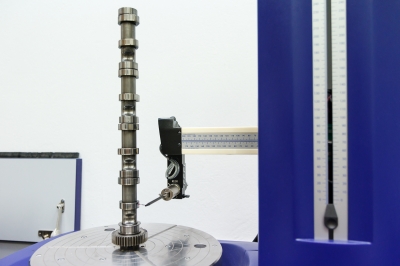
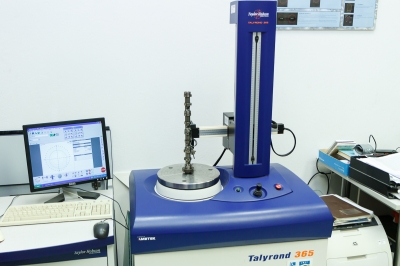
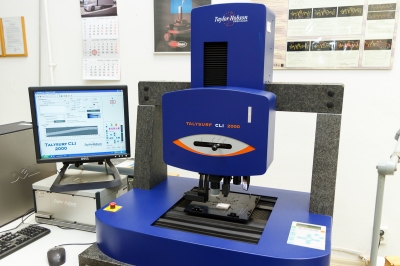
The Three-coordinate Measuring Laboratory has a coordinate measuring machine, a roundness and a roughness tester, which are particularly suitable for geometric measurements in the vehicle industry.
The laboratory also has numerous hand-held measuring devices and references for geometric measurements. Measurements are carried out in the laboratory for companies that cannot carry out these measurements themselves due to a lack of equipment or staff. Often measurement orders come from abroad.
INTRODUCTION OF TESTS
| Name of the test | The standard on which the test is based | Accredited test Y/N | Short description |
|---|---|---|---|
| Geometric measurement of size, shape and position | DIN ISO 1101 | N | Geometric dimension, shape and position measurements up to 1500mm with a measurement uncertainty of 3+L[mm]/350mm. |
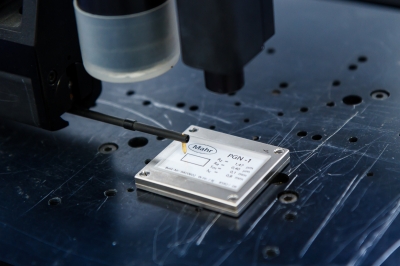
| Surface roughness measurement | DIN EN ISO 4288 | N | Direct surface roughness measurement on workpieces up to 200mm*200mm*200mm and 15kg by needle or optical sensing, indirect surface roughness measurement on workpieces of any size by silicone imprint. |
| Circumference measurement |
Not relevant |
N | Circular measurement on workpieces up to Æ450mm, 500mm height, 50kg weight. |
| Measurement of bolt threads | DIN 13-20 | N | Direct measurement of spindle threads, indirect measurement of nut threads on a silicon print of the thread. Thread profile acquisition, determination of thread parameters (profile angle, thread pitch, centre diameter, outside and centre diameter, radius of run-out), connection of nut and spindle thread profiles. |
| Measuring gears | Not relevant | N | Determination of tooth profile, multi-tooth size, module, base pitch of external straight teeth, measurement of ribs. |
If you have not found the right test or you would like to request a customised test, please contact us!
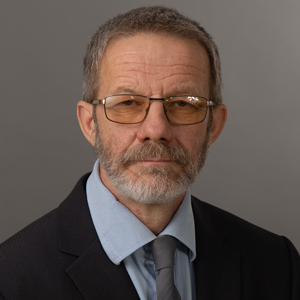
Dr. Solecki Levente
E-mail: solecki@.sze.hu
Phone: +36-96-503-400 extension: 3319
Mobile: +36-70-502-4672
INTRODUCTION OF THE EQUIPMENTS
| Name of the equipment | Parameters, test range | Inquiries/tests |
|---|---|---|
| MAHR PMC800 multisensor coordinate measuring machine | -500mm*800mm*1500mm | Tactile and optical coordinate measurements. |
| TALYROND365 Circular load tester | -500mm*Æ 450mm | Turntable circles, cylindricity, uniaxiality, flatness, straightness tests. |
| TALYSURF CLI2000 multisensor densitometer | -200mm*200mm*200mm | Optical and tactile roughness measurements, all standard roughness characteristics can be determined. |
| STRUERS Replica | - 0,1µm-(~200mm) | Silicon scanning and optical micro- and macro-geometric measurement of these from surfaces that cannot be directly measured (e.g. internal). |
OTHER PROFESSIONAL COMPETENCIES/DEVELOPMENTS
COLLEAGUES
| Name | Position | Scope of duties, main activities |
|---|---|---|
| Dr. Solecki Levente | Head of laboratory | Managing the laboratory. Performing and evaluating measurements, maintaining equipment. |
REFERENCES

