Material Testing Laboratory
|
Head of Laboratory: |
Dr. Hargitai Hajnalka |
| Phone: | +36-96-613-572 |
| Mobile: | +36-30-315-4030 |
| E-mail: | anyaglab.sze##kukac##gmail.com |
| Website: | anyaglab.sze.hu |
| Address: | 9026 Győr, Egyetem tér 1., L3/23. |

INTRODUCTION OF THE LABORATORY
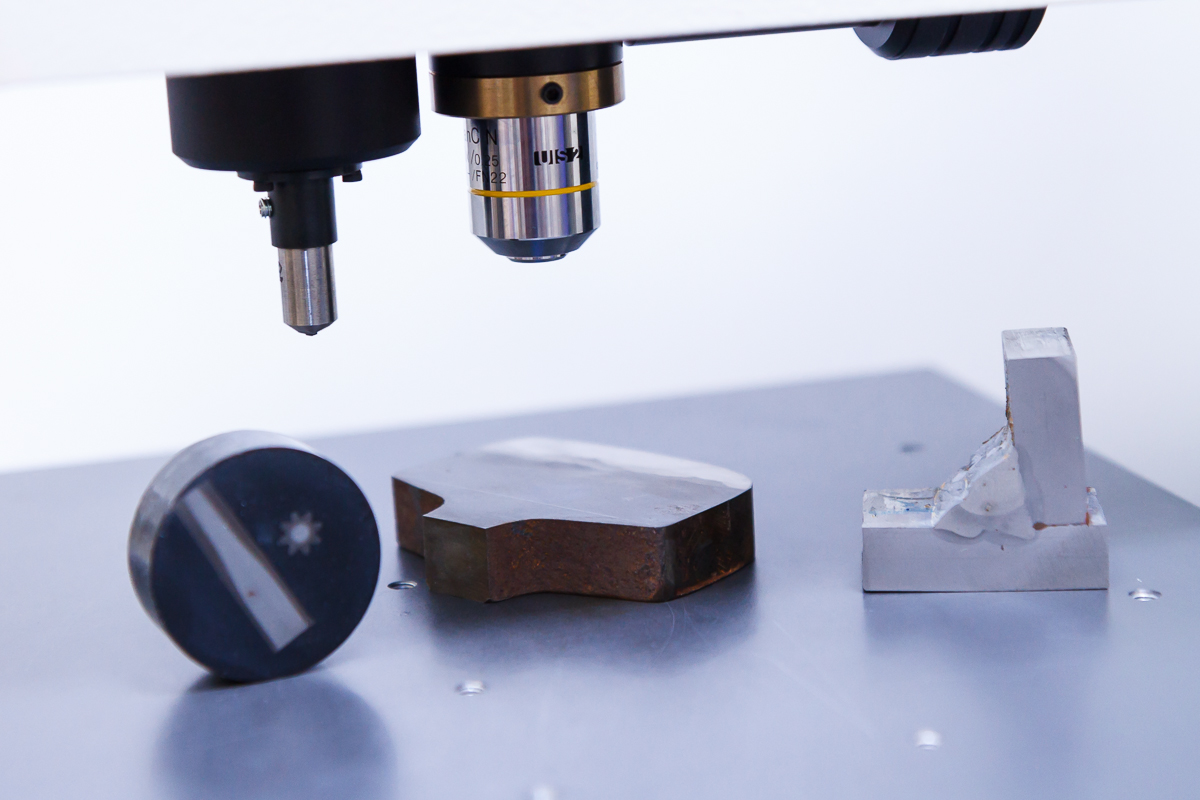
The Material Testing Laboratory is mainly concerned with the testing of metals and failure analysis. We perform chemical composition analysis, mechanical, microscopic and non-destructive material and product testing, and qualification of the heat treatment condition.
Accredited testing (MSZ EN ISO / IEC 17025: 2018):
• mechanical tests and microstructure analysis of steels, aluminium and its alloys, castings, - destructive and non-destructive testing of welded joints,
• corrosion and environmental testing (salt spray, thermal shock and resistance to humidity).
INTRODUCTION OF TESTS
| Name of the test | The standard on which the test is based | Accredited test Y/N | Short description |
|---|---|---|---|
| Tensile test | MSZ EN ISO 6892-1:2016 | Y | Examination of metal raw materials (eg: qualification of plate, block material, specimen machining; qualification of pipes, wires, or end products by making a custom clamping tool; performing individual measurements). Force measuring range: up to 100kN at room temperature. |
| Charpy impact test | MSZ EN ISO 9016:2013 MSZ EN ISO 148-1:2017 |
Y | Examination of metals, welded materials, qualification of welded joints. Specimen machinig. Measuring range: up to 300 J, room temperature, -20 °C. |
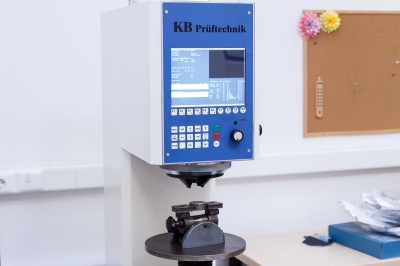
| Brinell hardness test | MSZ EN ISO 6506-1:2014 | Y | Testing of metals, range: max. 750N. |
| Rockwell C Hardness test | MSZ EN ISO 6508-1:2016 | Y | Testing of metals |
| Salt spray tests | MSZ EN ISO 9227:2017, MSZ EN 60068-2-11:2000, ASTM B117-18, JIS Z 2371:2015, MSZ EN ISO 10289:2001 | Y | Corrosion testing of structural materials and assessment of damage (metal, plastic, coated product). |
| Cyclic corrosion stress | MSZ EN ISO 11997-1:2018 MSZ EN IEC 60068-2-52:2018 |
Y | Corrosion testing of structural materials and assessment of damage (metal, plastic, coated product, electronic unit ... etc.). |
| Coating adhesion (cross cut) | MSZ EN ISO 2409:2013 | Y | Qualification of coatings |
| Evaluation of wear of coatings | MSZ EN ISO 4628-1:2016, MSZ EN ISO 4628-2:2016, MSZ EN ISO 4628-3:2016, MSZ EN ISO 4628-8:2013 | Y | Qualification of coatings |
| Visual testing | MSZ EN ISO 17637:2017 MSZ EN 13018:2016 |
Y | Non-destructive testing of welds. |
| Ultrasonic testing | MSZ EN ISO 17640:2019 | Y | Non-destructive testing of welds. |
| Penetrant testing | MSZ EN ISO 3452-1:2013, MSZ EN 1371-1:2012 | Y | Investigation of welded joints of metals, forged parts, castings based on iron and aluminum (by color contrast and fluorescence methods). Detection limit:> 10µm. |
| Transverse tensile test | MSZ EN ISO 4136:2013 | Y | Destructive tests on welds in metallic materials, range: up to 100kN, room temperature |
| Bend tests | MSZ EN ISO 5173:2010 MSZ EN ISO 5173:2010/A1:2012 |
Y | Destructive tests on welds in metallic materials, max 180 degree |
| Fracture test | MSZ EN ISO 9017:2018 | Y | Destructive tests on welds in metallic materials |
| Vickers hardness test | MSZ EN ISO 6507-1:2018, MSZ EN ISO 9015-1:2011 | Y | Examination of metals and welded joints. Range: HV0.1 – HV30. |
| Macroscopic and microscopic examination of welds | MSZ EN ISO 17639:2014 | Y | Destructive tests on welds in metallic materials. |
| Radiographic testing | MSZ EN ISO 5579:2014, MSZ EN ISO 17636-1:2013 | Y | Non-destructive testing of welds. |
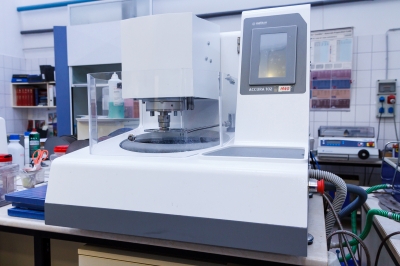
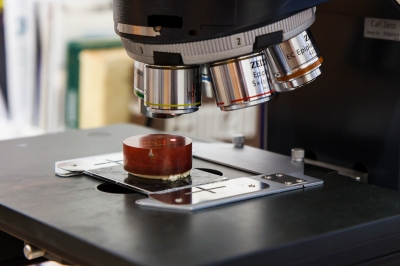
| Metallographic analysis | Not relevant | N | Examination of the microstructure of metals, measurement of the hardness and thickness of the coating, examination of the heat treatment condition, determination of the grain size, qualification of castings. |
| Determination and verification of the depth of carburized and hardened cases | MSZ EN ISO 2639:2003 | N | Qualification of surface heat treatments (induction hardening, nitriding, and other surface hardening methods). |
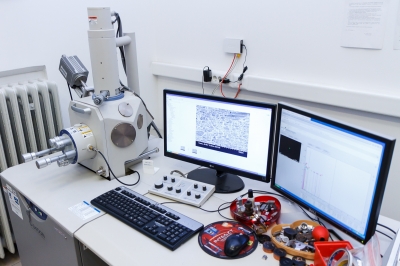
| Scanning electron microscope analysis | Not relevant | N | Structural materials (metallic and non-metallic materials) fracture surface analysis, investigation of microstructure at thousands of magnifications, and determination of elemental composition locally by EDX analysis. |
| Failure analysis | Not relevant | N | Investigation of the cause of fracture, failure with several tests in case of metallic materials. |
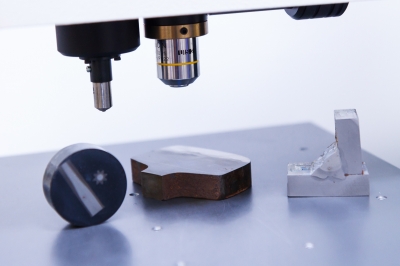
| Analysis of surface topography | Not relevant | N | 3D surface measurement with focus variation microscope, profile analysis. |
| Cleanliness test | e.g. ISO 16232, VDA19 | N | Determination of the mass, size and amount of impurities remaining on the surface of metallic and non-metallic parts based on a qualification standard or other specification. |
| Environmental testing. Change of temperature | MSZ EN 60068-2-14:2009 Na | Y | Thermal shock test: Basket: 614x500x425 mm, max. 35 kg. Temperature range: (-80°C) - (+220°C). |
| Determination of resistance to humidity | MSZ EN ISO 6270-1:2018, MSZ EN ISO 6270-2:2018 | Y | Examination of metallic and non-metallic components. Upper limit of measuring range: 100% RH. |
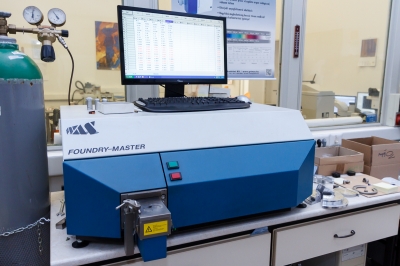
| Chemical composition analysis | Not relevant | N | Determination of the chemical composition of alloys:steels, cast irons and alloys of aluminum, copper, nickel and titanium by optical emission spectrometry. |
If you have not found the right test or you would like to request a customised test, please contact us!
Dr. Hargitai Hajnalka
E-mail: anyaglab.sze@gmail.com
Phone: +36-96-613-572
Mobile: +36-30-315-4030
INTRODUCTION OF THE EQUIPMENTS
| Name of the equipment | Parameters, test range | Inquiries/tests |
|---|---|---|
| INSTRON 5582 tractor |
- 100kN |
Tensile test, compression test, bending test. |
| KB 750 / KB PRÜFTECHNIK hardness tester |
- load: maximum 750kp |
HB, HV, HRC hardness measurement. |
| KB 30 / KB PRÜFTECHNIK hardness tester |
- load: maximum 30kp |
Automatic micro hardness tester, welded joints, coatings, surface heat treated parts. |
| BUEHLER microhardness meter |
- load: minimum 1kp |
Surface heat treated sub-parts testing. |
| NICON ECLIPSE optical microscope |
- magnification: up to 1000x |
Metallographic analysis of metals and their alloys. |
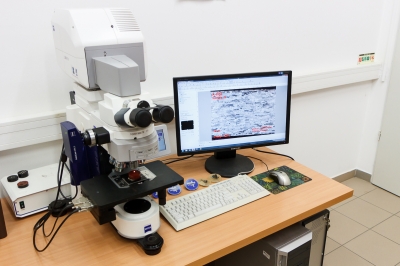
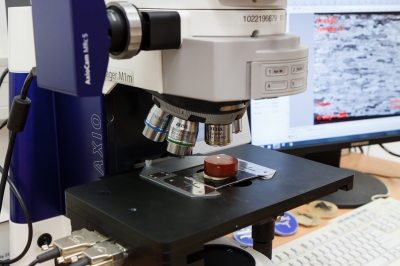
| ZEISS Axio Imager A1 optical microscope |
- magnification: up to 1000x |
Metallographic analysis of metals and their alloys, industrial purity testing. |
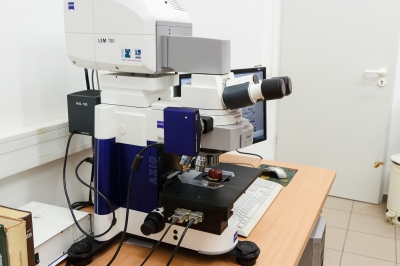
| ZEISS LSM 700 Confocal Laser Scanning Microscope (CLSM) | - | Surface topographic survey. |
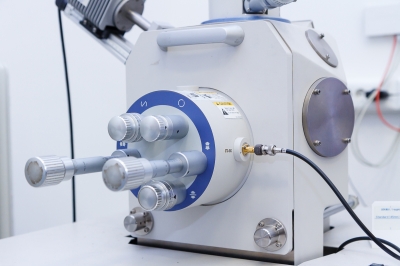
| HITACHI 3400 scanning electron microscope | - | Fracture surface and material structure studies, EDX element analysis. |
| WAS Foundry Master optical emission spectrometer | - | Analysis of Fe, Al, Cu , Ti and Ni alloys. |
| YXILON MODULAR CT X-ray equipment |
- voltage: up to 400kV |
Inspection of internal defects in metallic and non-metallic materials, assembled parts and geometric deviations. |
| ANGELANTONI CST 130/2T LC heat shock chamber |
- useful dimensions of the basket: 614x500x425 mm (l x w x h) (130 litres) |
Standards IEC 60068-2-14 Na (accredited), ISO 16750, MIL-STD 810 |
| ASCOTT CC 1000ip cyclic salt spray chamber |
- useful dimensions of the chamber (length x w x h): max. 900x1300x1250 |
Accredited salt spray testing standards: MSZ EN ISO 9227, MSZ EN ISO 11997-1, ASTM B117, IEC 60068-2-11, MSZ EN ISO 2409 (cross hatch), JIS Z 2371:2015, MSZ EN IEC 60068-2-52:2018. Other standards: SES N 3133, SES D 2203, etc. |
| ANGELANTONI DY110 SP air conditioning chamber |
- Useful dimensions: 550x500x400 mm (lxwxwxhxh) |
Standards MSZ EN 60068-2-30, MSZ EN ISO 6270-1 and 6270-2, etc. |
| Alicona Infinite Focus optical focus variation microscope | - | Surface topographic survey. |
OTHER PROFESSIONAL COMPETENCIES/DEVELOPMENTS
- Certification of heat treated components, welded structures and technologies.
- Tests and specific tests for technological developments.
- Damage and failure analysis of metallic structures and components.
COLLEAGUES
| Name | Position | Scope of duties, main activities |
|---|---|---|
| Dr. Hargitai Hajnalka | Head of laboratory | Management of the laboratory. |
| Ibriksz Tamás | assistant laboratory manager | Acting as deputy head of the laboratory. Salt spray testing, heat shock testing, tensile testing. |
| Buzáné Szolomatyina Nagyezsda | lab engineer | Metallographic testing, damage analysis. |
| Bognárné Pápai Márta | lab engineer | Chemical composition analysis. |
| Légmán Nikoletta | lab engineer | Hardness measurement, qualification of welded joints. |
| Harangozó Dóra | lab engineer | Tensile testing, industrial cleanliness testing, impact testing. |
| Varga László | lab engineer | Non-destructive testing of welded joints. |
| Titrik Péter | laboratory assistant | Design of test specimens. |
REFERENCES
- Van Leeuwen Hungary Kft.
- Autoliv Kft.
- Interplex Hungary Kft.
- VT Metal Kft.
- Jako Kft.
- VNT Metal Kft.
- Kirchhoff Hungária Kft.
- GYSEV Zrt.
- Rába Futómű Kft.
- VNT Metal Hungary Kft.
- igm Robotrendszerek Kft.
- AUDI HUNGARIA Zrt.
